|
This sheet is provided to help illustrate a
few of the steps in the knitting the Autumn Harvest Möbius Scarf
that have proved troublesome for some knitters.
Some of these photos may seem a little
awkward to some, but I am a left handed knitter. Hopefully it
will be easy for you to make the transition for right handed
knitters.
I have placed this addenda in a PDF
document for convenient downloading and printing. It can
be found
here
 . .
|
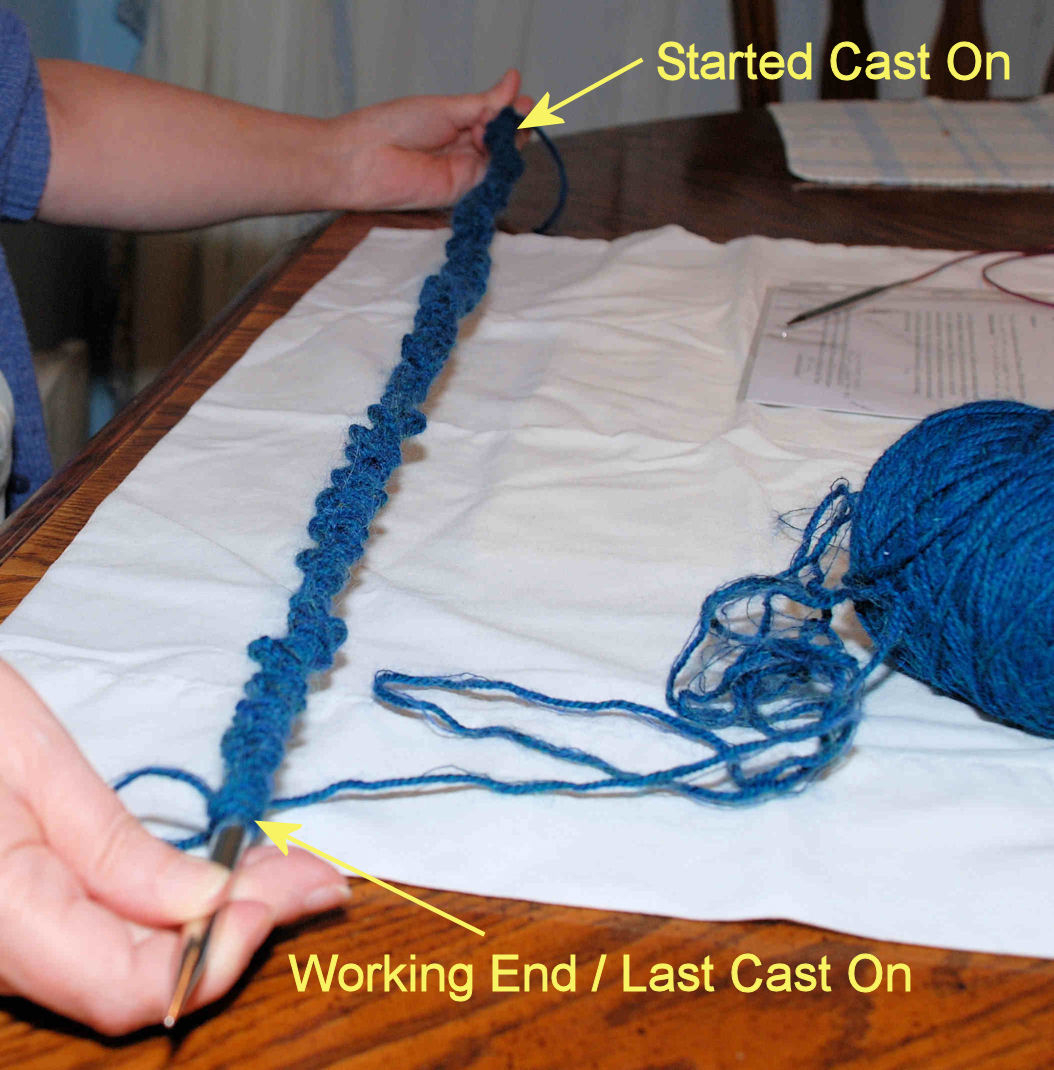 |
Step 1
This
shows all the stitches cast on the large needle.
Step 2
Pay attention to the working end. The end
attached to the balls of yard is the working end. This is the
end you will transfer / slip the first and all odd number
stitches onto the larger needle and the second and all even
number stitches onto the smaller needle.
|
|
|
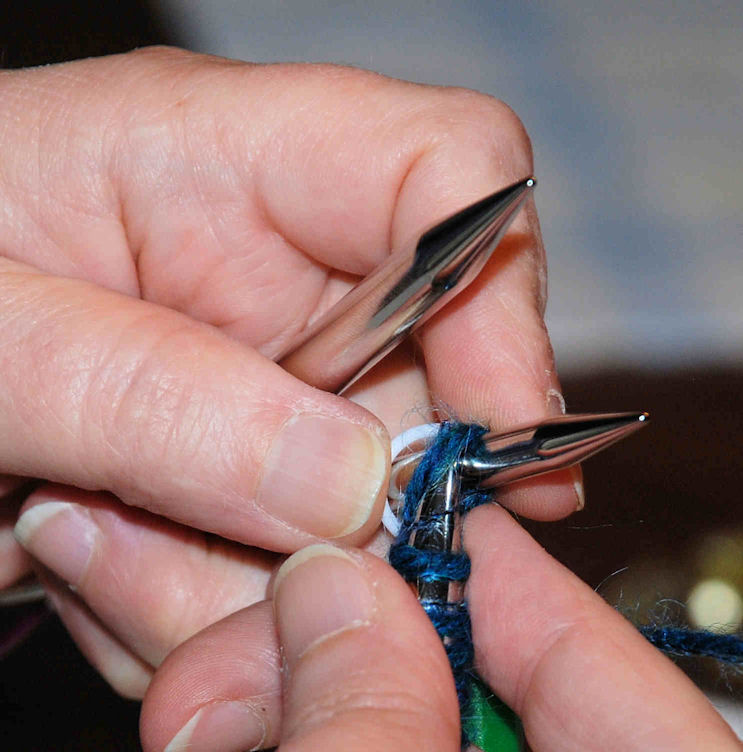 |
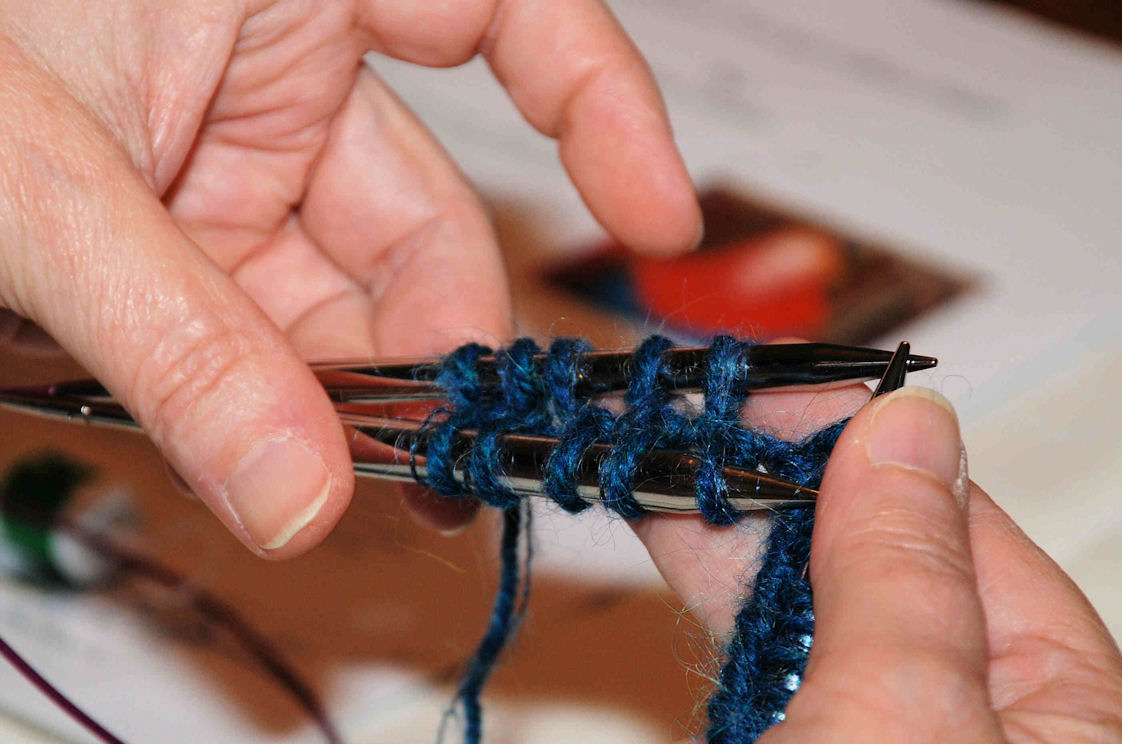
Step 3
You will hold the two needles (one larger
and one smaller) close together in one hand.
Then, bring the other end of the larger
needle with all the stitches up in between the two needles.
Then literally just pass the stitches one at a time. Pass the
first stitch onto the larger and next one onto the smaller.
Repeat until you have slipped all the stitches.
There is NO Knitting or Purling: just
slipping stitches for a whole row. This is a setup row.
|
|
|
|
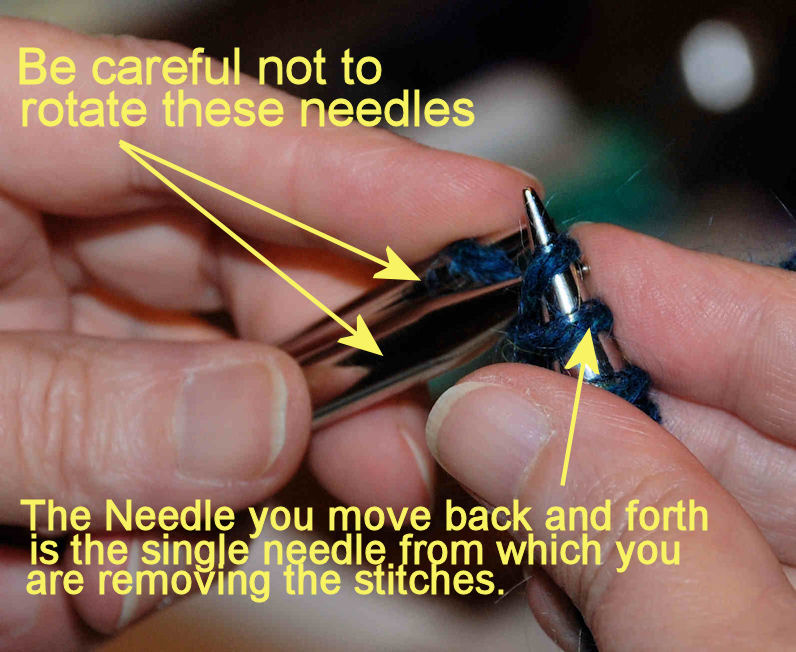 |
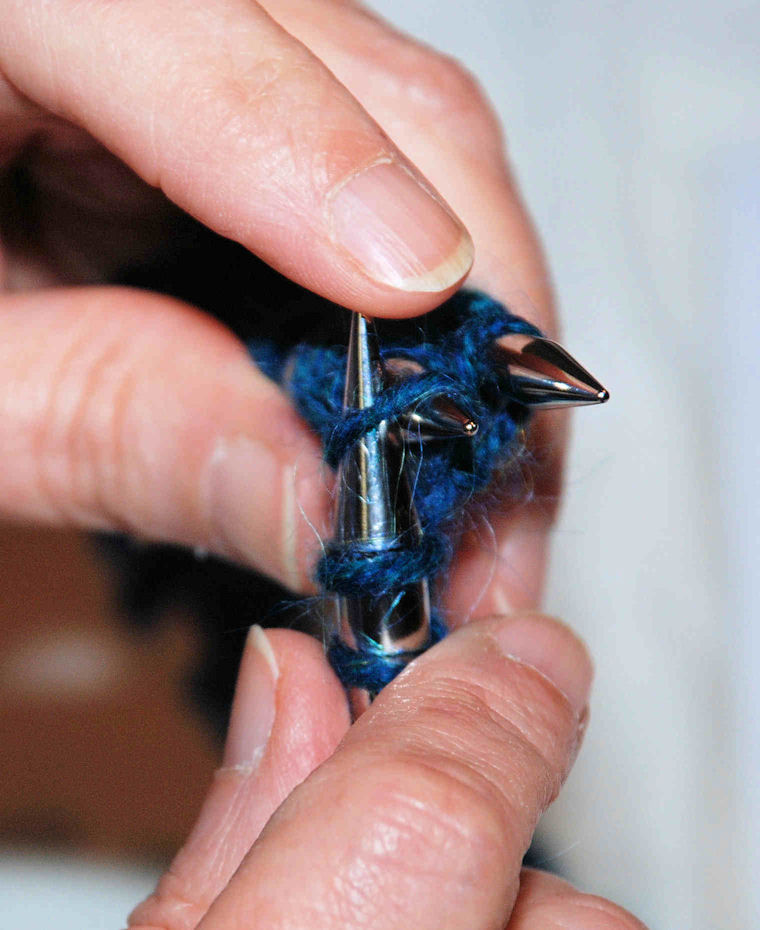
I find it easier if I hold the needles this
close together.
Be sure to use your finger to hold the
stitches. They will SLIP all by themselves!
|
|
|
|
 |
Notice how you are working with the points of the needle, so as
not to stretch out the stitches. |
|
|
|
 |
 |
|
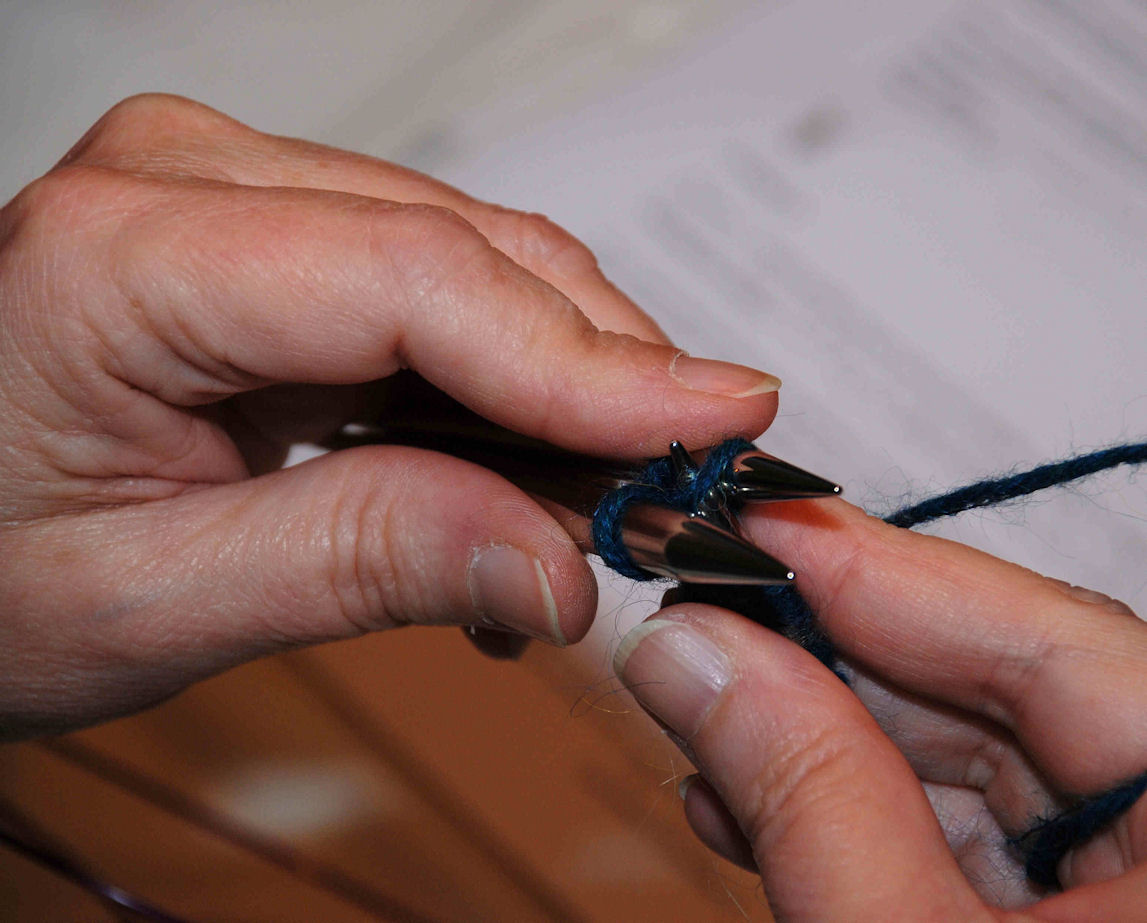
When you stop to slide the stitches down the two needles you can
also check your work. |
|
|
|
|
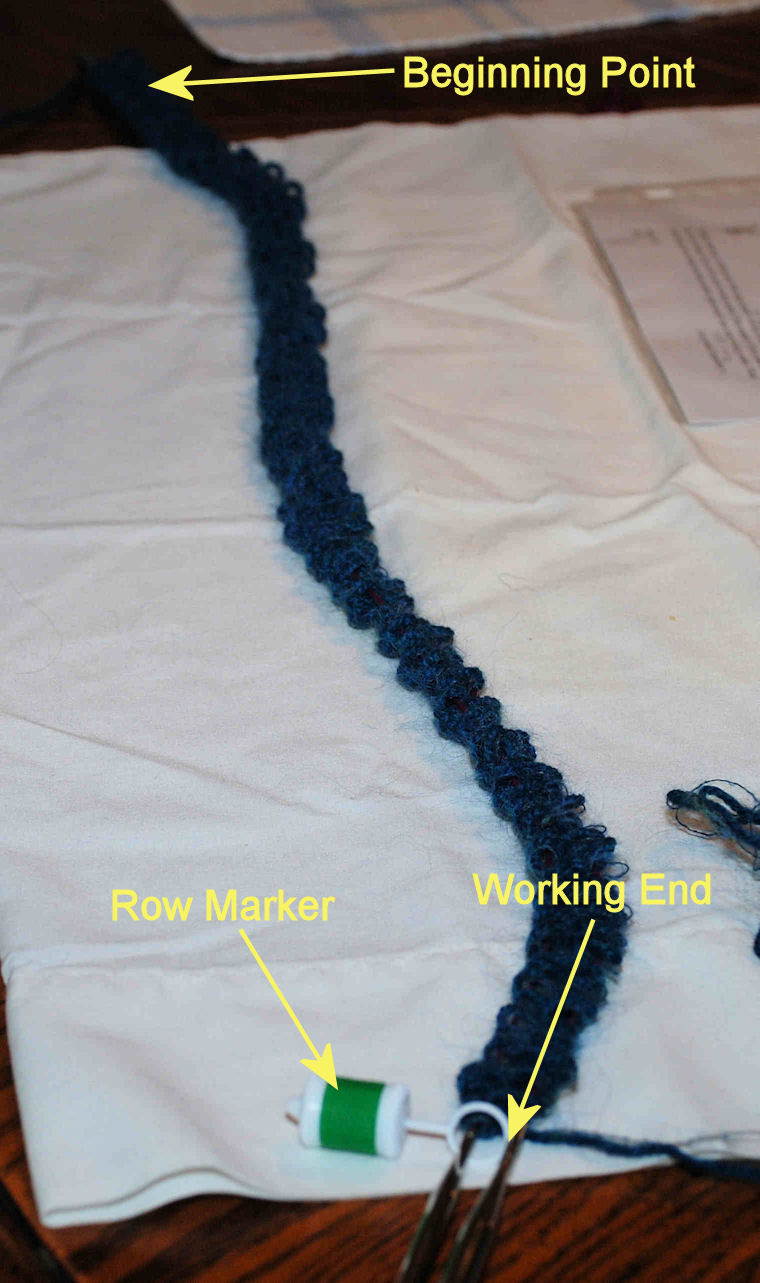 |
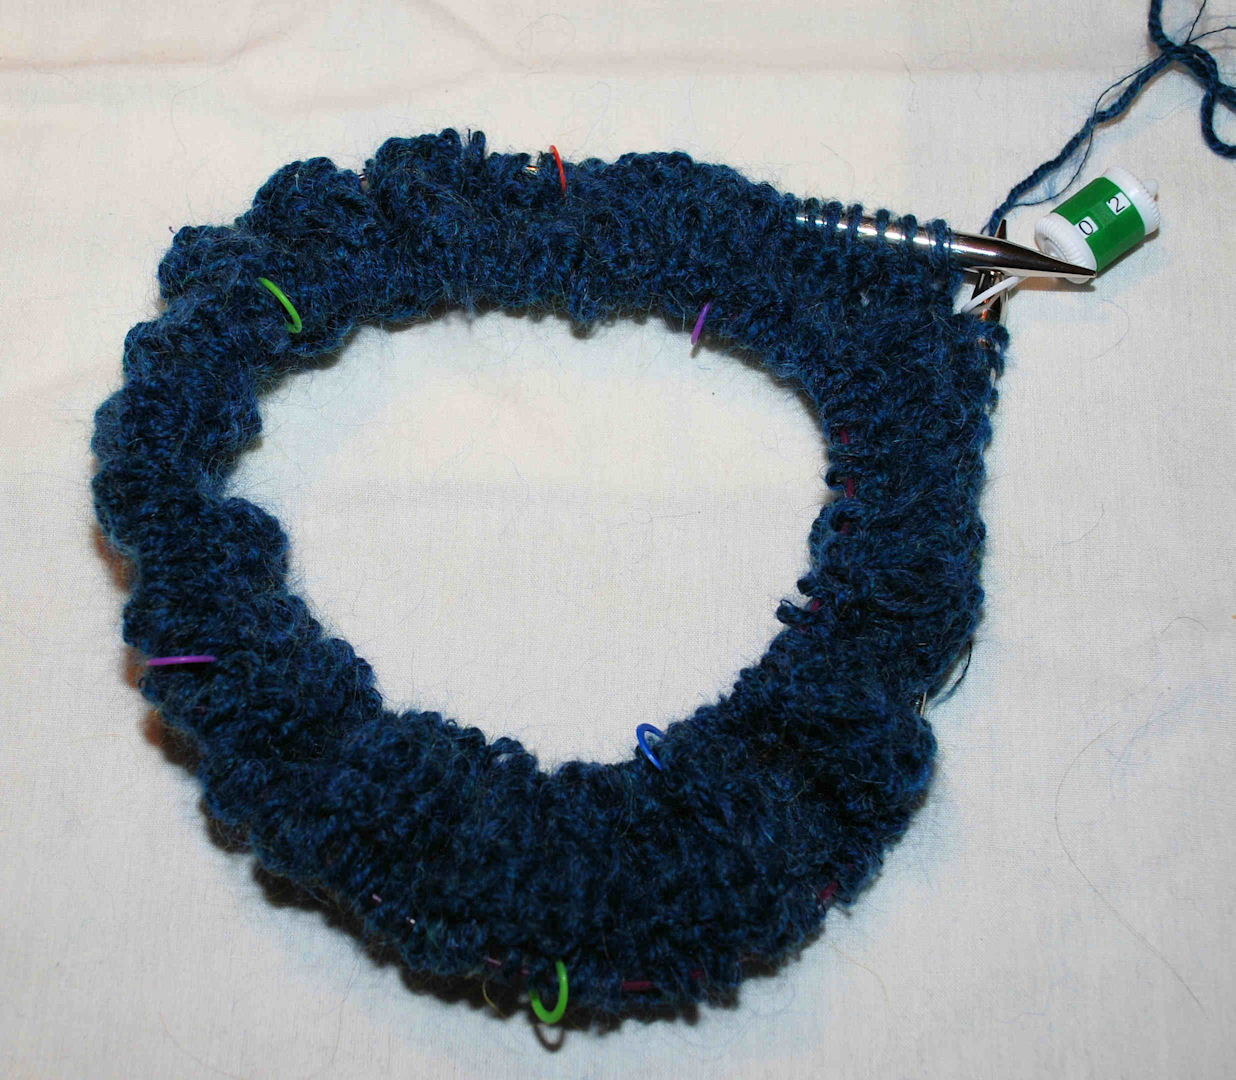
This picture shows how things should look after you have slipped
all the stitches.
Lay it out straight – make sure that the cables of your needles
are not crossed!
Put the row marker on the working end of the large needle.
You are now ready to begin row 1.
You begin by bringing the “Beginning Point” up to the “Working
End”. Be careful NOT to twist the cables. Start with the
“Beginning Point” of the small needle only Purling all the
previous slipped stitches of the small needle onto the large
needle with the Row Marker and “working end” of yarn. |
|
|
|
 |
 |
|
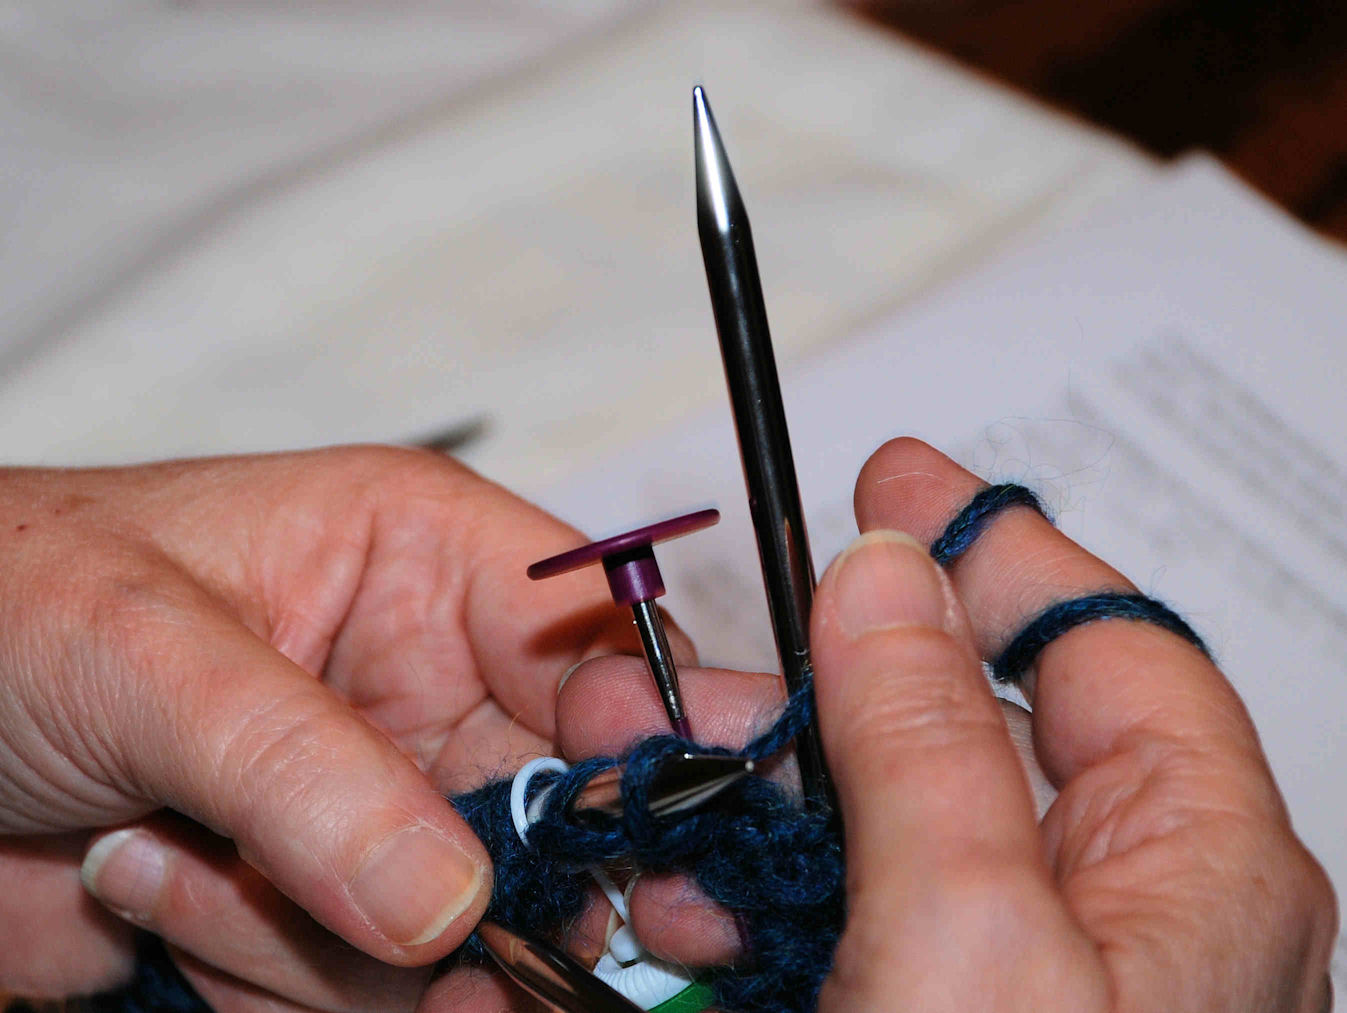
The awkward part of starting to purl row 1 is having
the large needle you are not using at the moment in the way.
I capped mine off and pushed it in front of my finger to
illustrate what I am talking about.
I am fortunate enough to have needles that allow me to do this
but I know that everyone does not have this type of cable
needle. You hold the large (non working at the moment) needle
behind your finger and put it out of your way. It is awkward for
a few purl stitches but it will soon be out of your way. But it
is also the reason that Row 1 is “Purl the yarn is in front,
extra needle in back” of the work area.
|
|
|
|
|
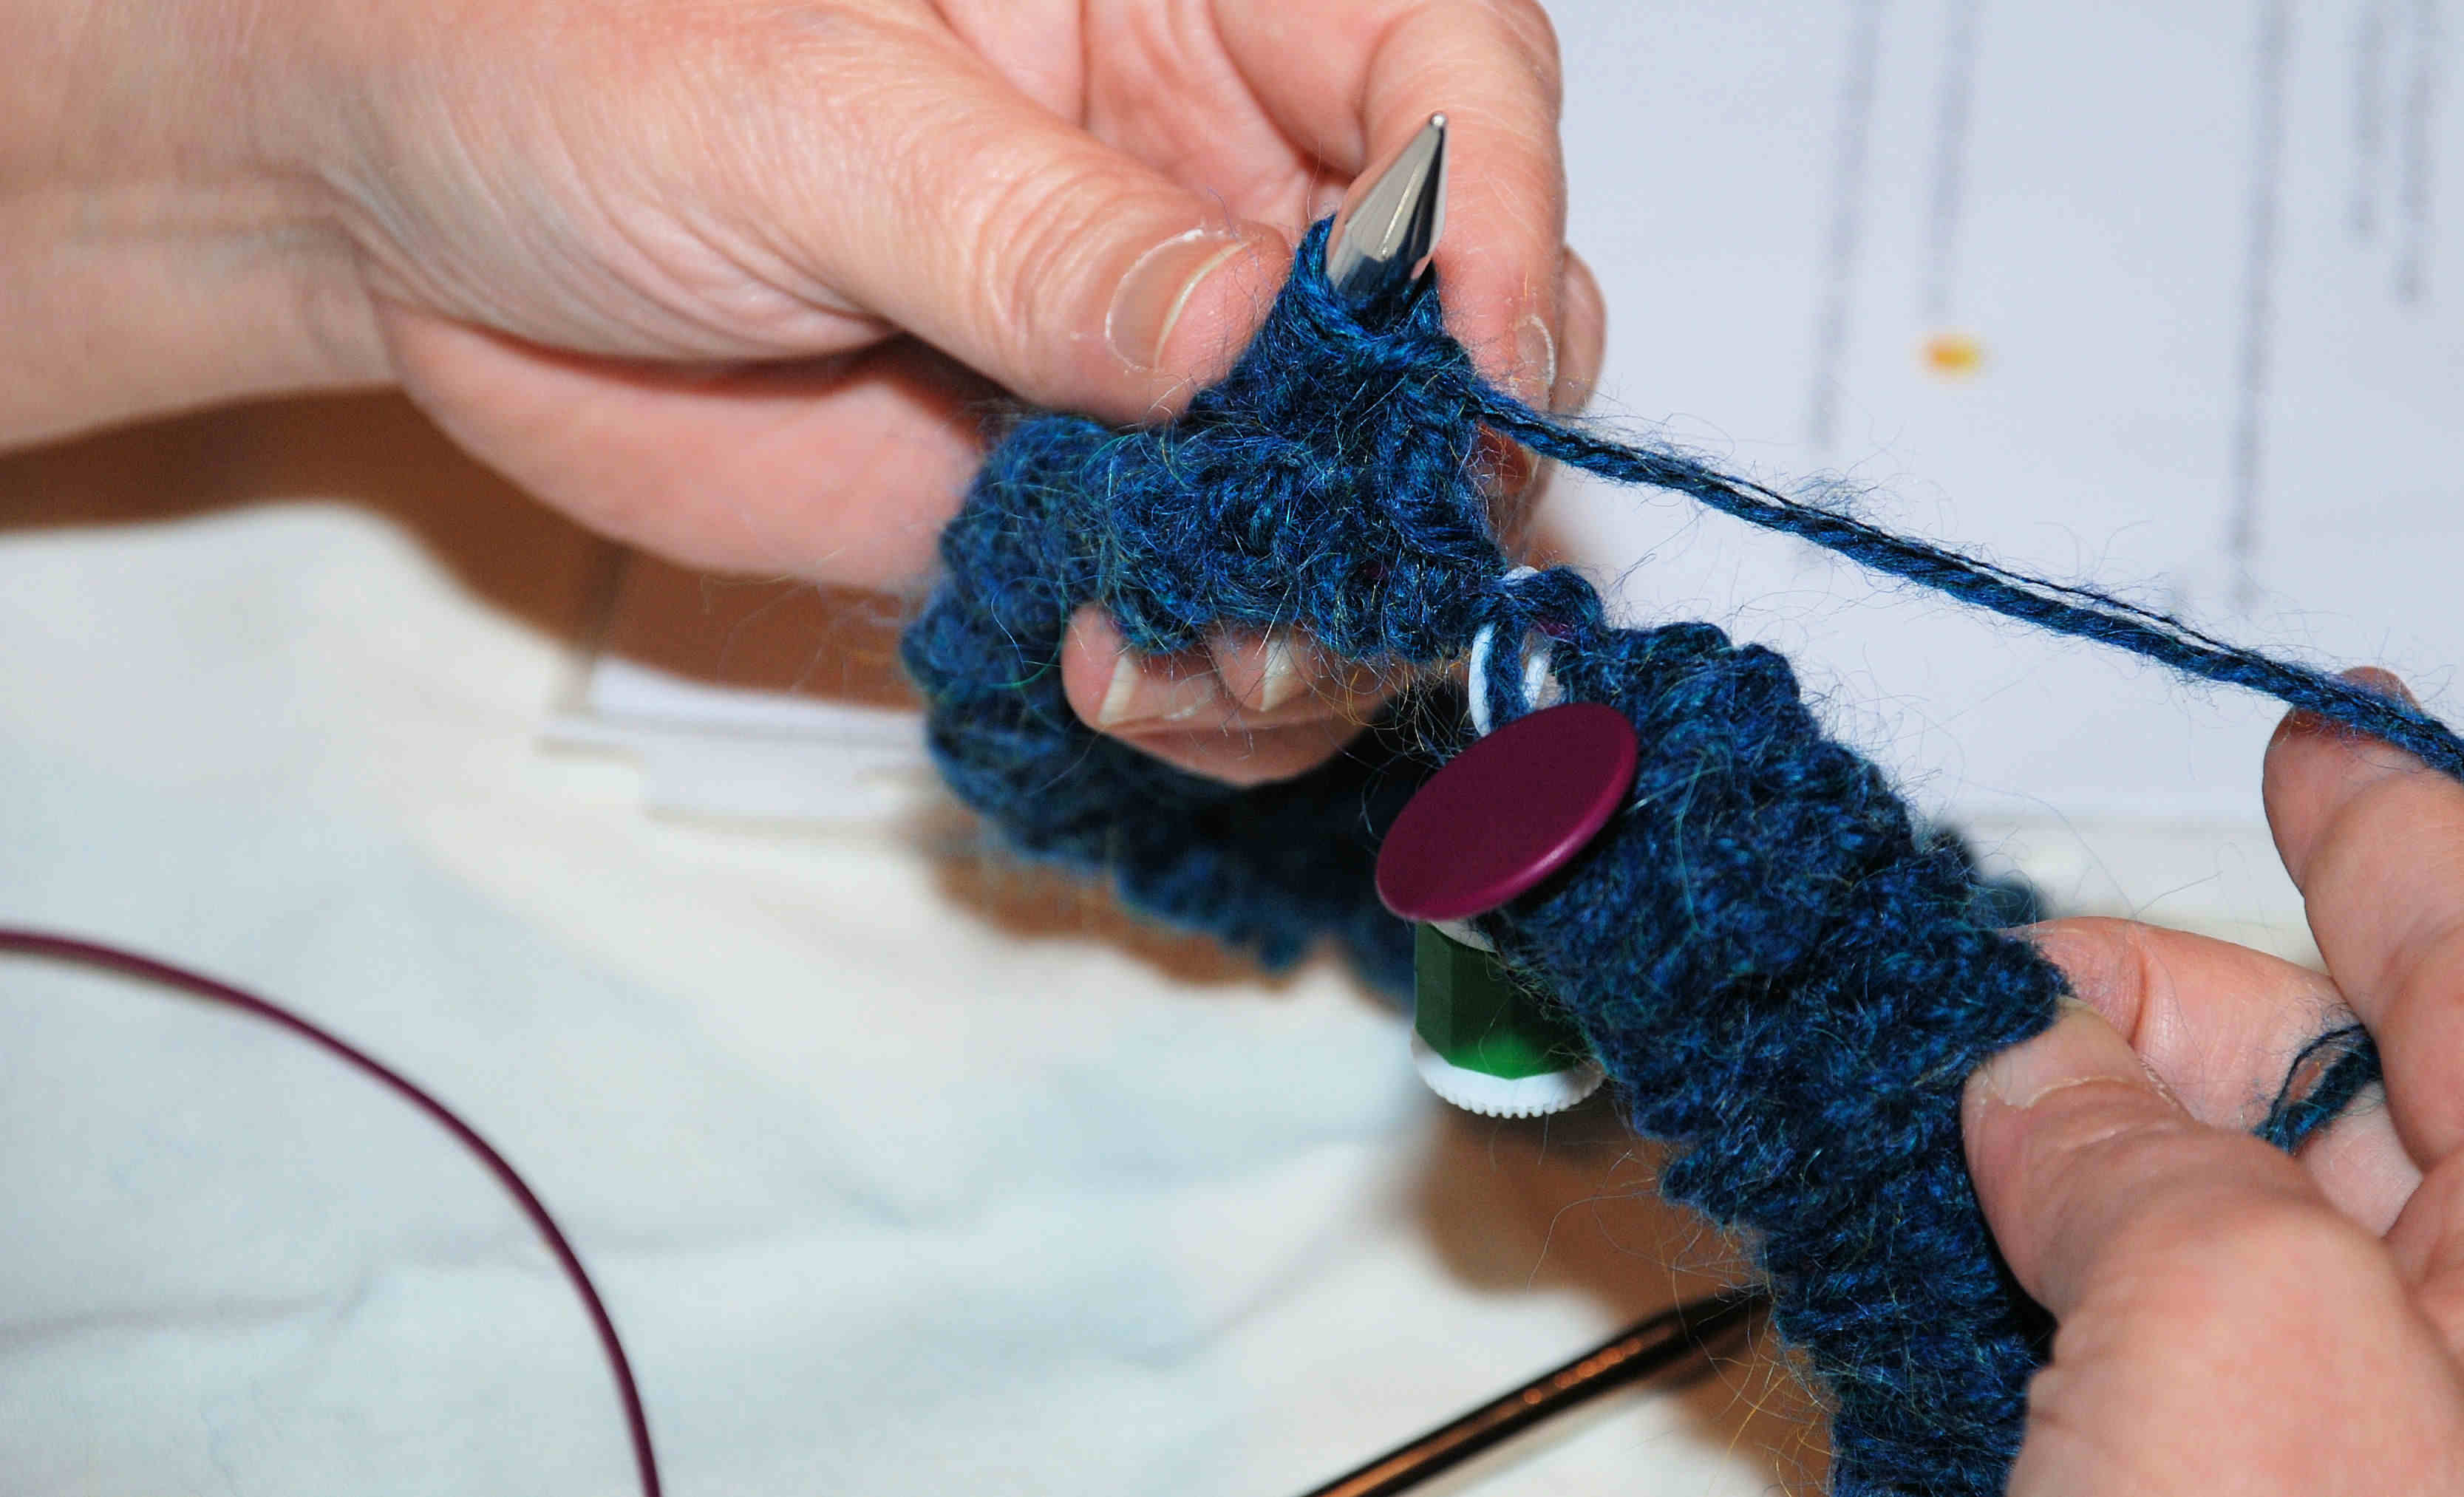 |
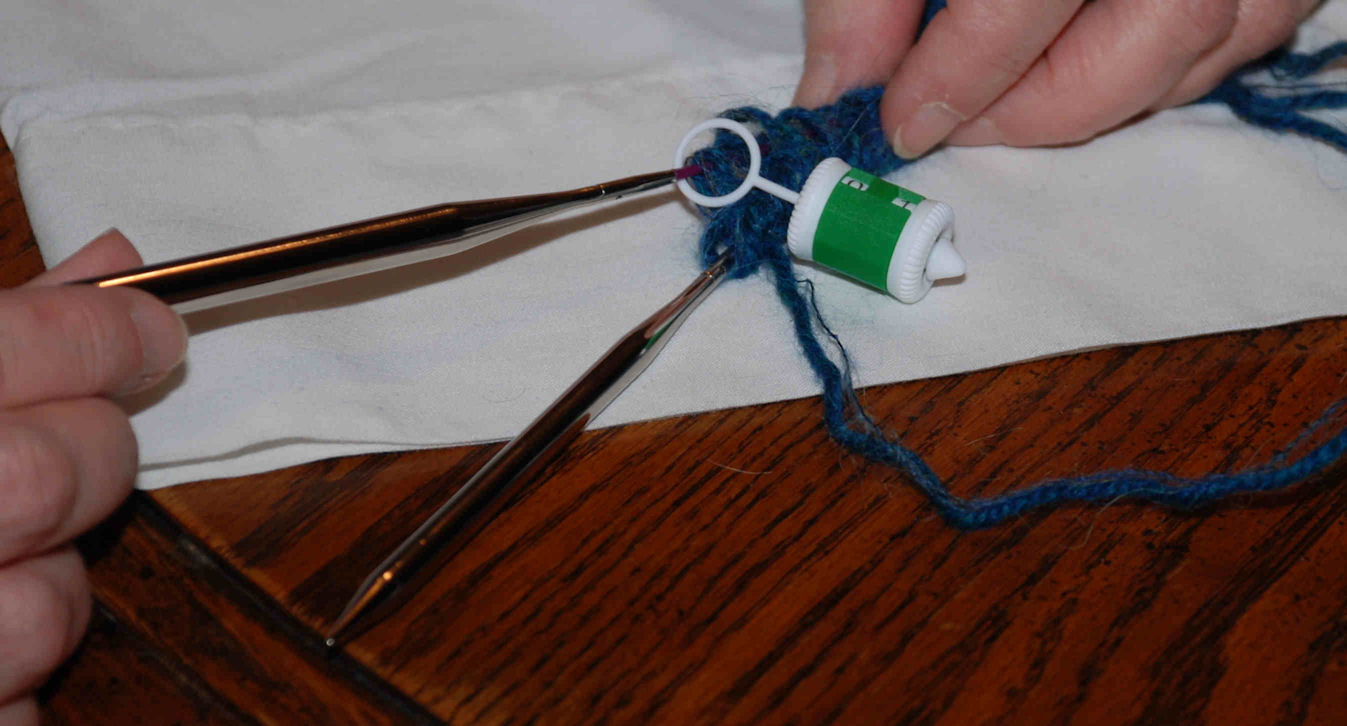
When the small needle is empty, you are still only half finished
with row 1! At this point you should have the large needle right
in position to continue purling the remainder of row 1. You need
to finish row 1 by purling the stitches from the end of the
large needle with the slipped stitches. In the picture above I
need to put the needle on and continue purling. I took the
needle off because it hid what I was trying to show you in the
photo.
This is where many knitters make the most mistakes. Because they
think they have reached the row marker, the small needle is
empty and they are starting on the large needle they think that
they are done and begin row 2. This is incorrect! You still need
to continue to purl the rest of row 1 – the pervious slipped
stitches that are on the larger needle. Please don’t make this
mistake: mohair is a royal pain to “frog”! |
|
|
|
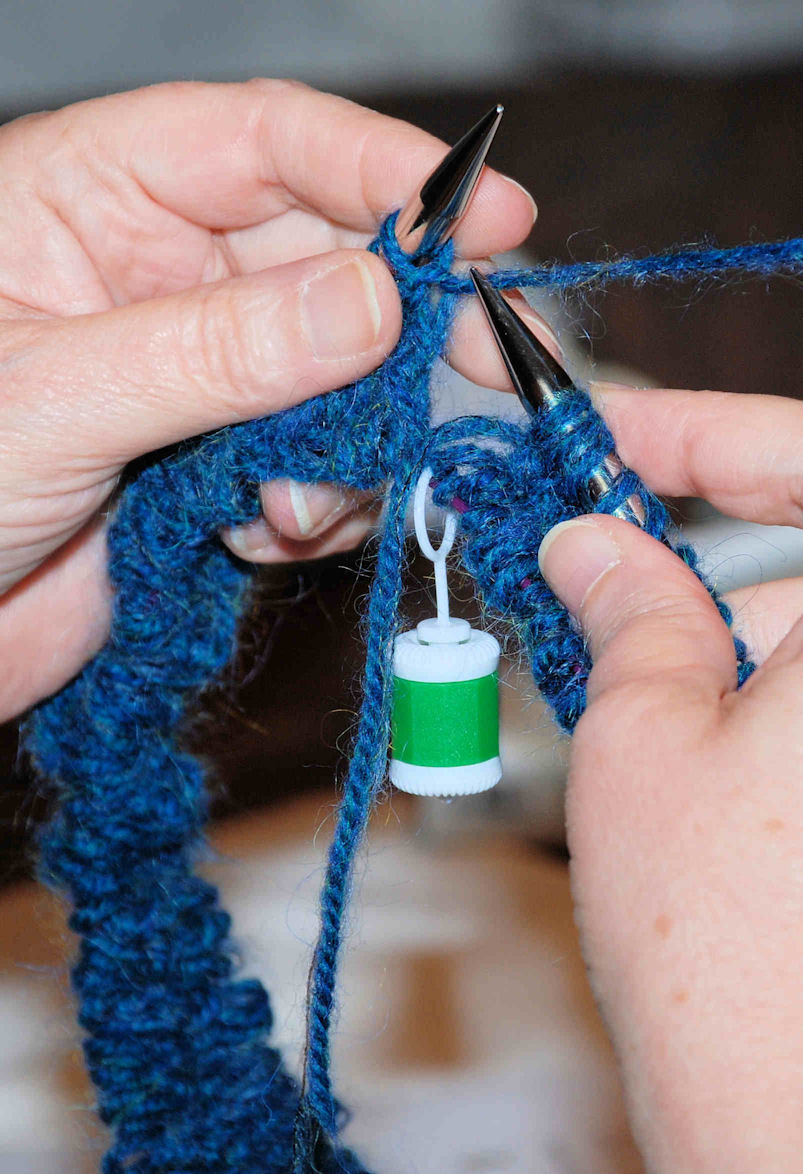 |
Only half way done with the row!
Please note that the row marker is on the cable – not the
needle!
|
|
|
|
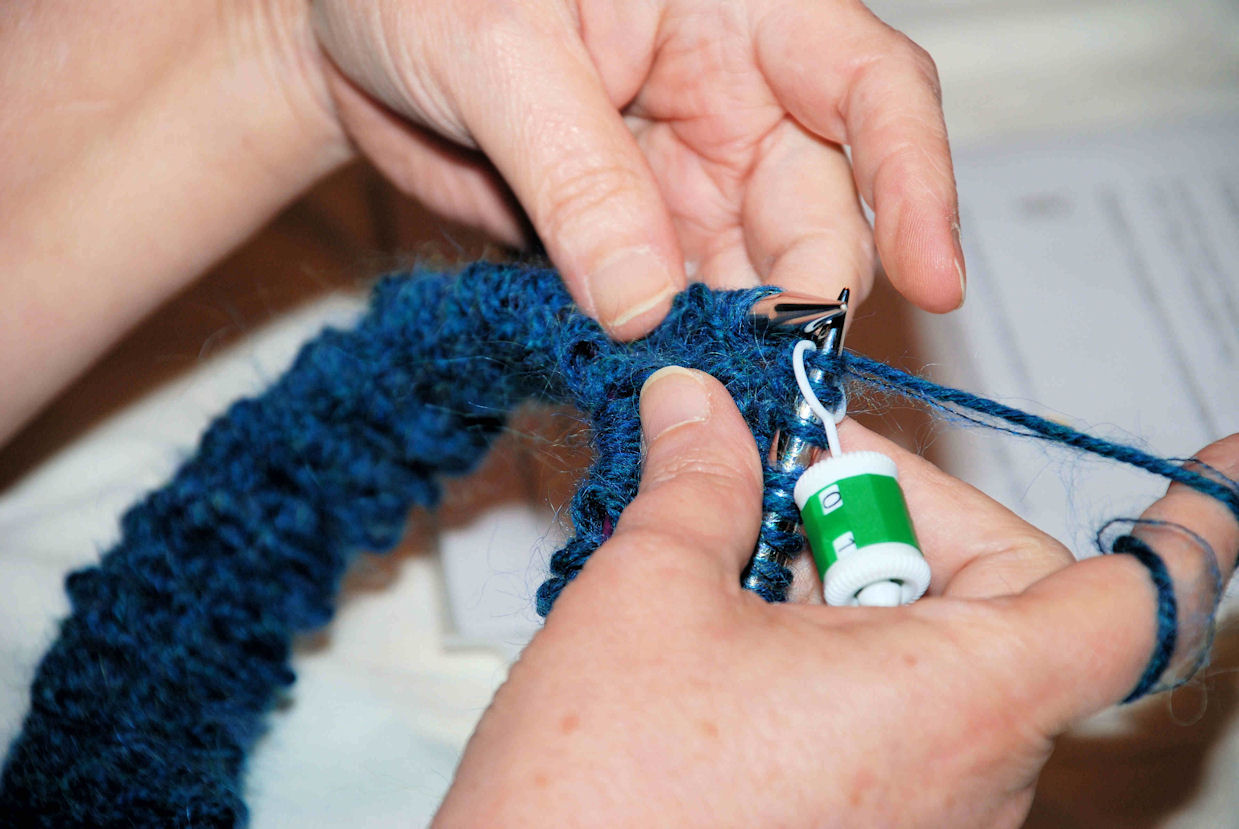 |
Now you have finished row 1! It is time to start row 2. |
|
|
|
 |
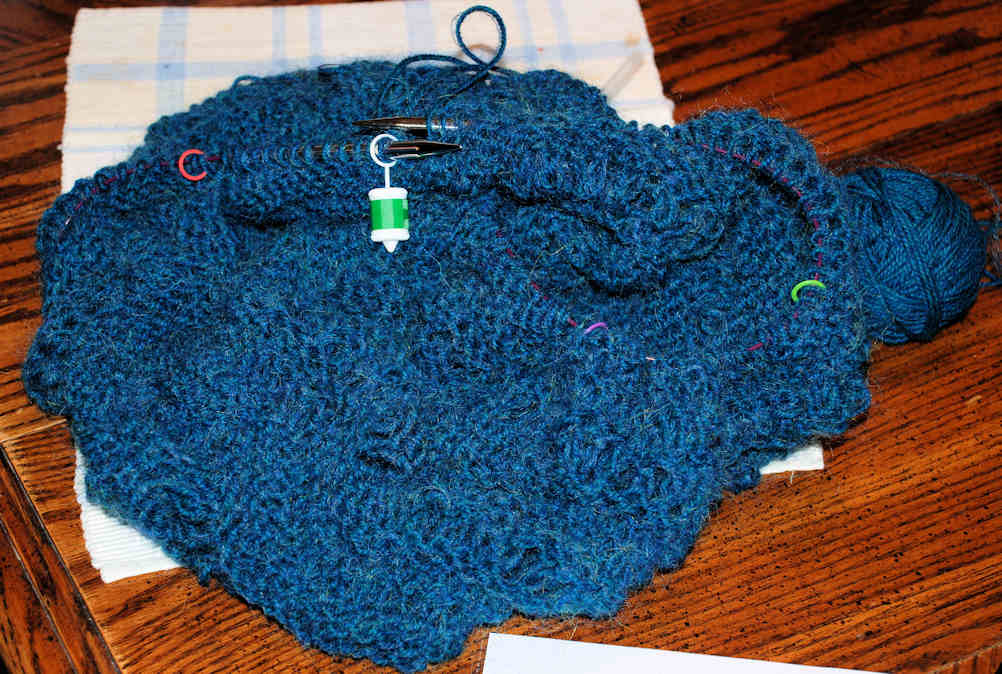 |
Here is how it looks after row 2 is complete. Because this is a
Möbius scarf the center will continue to fill as you continue to
knit the rows.
|
More often then not, while you are knitting this project it will
look like a big knitted “blob”.
This picture is all 26 rows complete, ready for binding off. |
|
|
|
|
Click on the icon below to contact the webmaster:
 |
|
|
|
|
